Thursday, June 30, 2011

sweet heart's lovely little hearts


Wednesday, June 29, 2011

Sweet hearts


1 ) make a template out of fun foam


2) cut out your template
3) pick your spot

4) 2 heart ...front and back side
(don't forget to remove the fun foam )
5) thread your needle and tie a knot at the end

6) start sowing an simple over and under stitch

7 ) stop just before the end and fill with the batting
8) finish your stitch and tie

A sweet little heart ...my girls will work on this project tomorrow Ill post there results soon!


Tuesday, June 28, 2011

Something cool to do

http://www.bookmans.com/


Build your own instrument from recycled materials  , BOOKMANS provides all the materials for this  FREE event . Generally  every Tuesday in the kids corner about 10:00 there is something fun to do .

Monday, June 27, 2011

little lady bug


YOU WILL NEED :
1)1 small styro ball 2)1 extra small stryro ball
3)RED paint 4)1 black sheet of fun foam with adhesive back
 5) 1 RED sheet of fun foam with adhesive back ,
6)google eyes,7)black pipe cleaner
. Also you will need but probably have on hand
a serrated knife, scissors,whole punch.


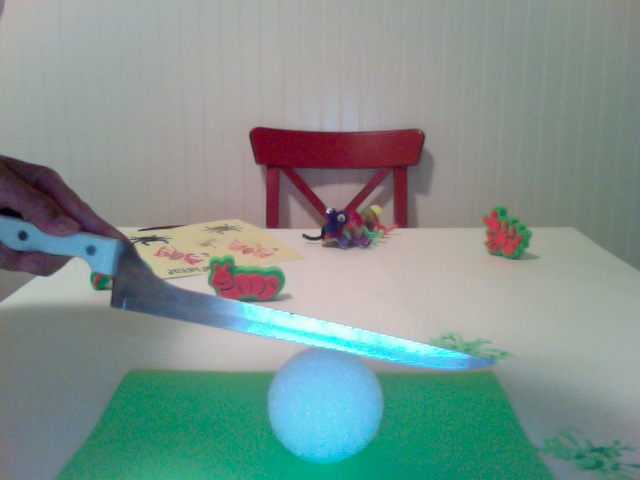
 STEP 1) cut styro ball in half
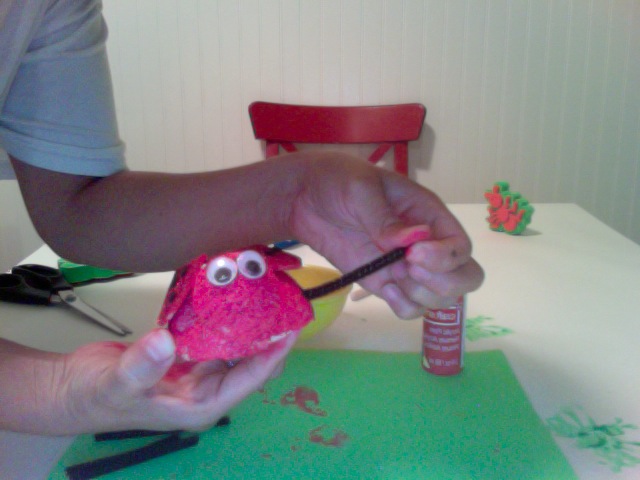
 Step 2 )paint red ...dabbing works best
painted half .........


Step 3) Draw wings on back of red fun foam & cut


Step 4) Use a whole punch to make 


Now you have your pretty little wings and little black spots.

5) take the paper that covers the adhesive off of your dots and apply to your wings,
next  take the adhesive off of your wing and stick them on your DRY lady bug body


6) paint small ball  red and cut pipe cleaners (7)
6 for the legs and 1 to attach the head.

7) using  a short pipe cleaner poke it in to the end of the body that 
the head would be and then poke the other end into the small ball.

8) Take the 6 legs and poke them into the body


And you have a little lady bug!


Wednesday, June 22, 2011

Bugging out... arachnids

                                                              1) Paint 1/2 styro ball
2) cut 4 pipe cleaners in half 
3)Lay out the placement 
4) poke end of pipe cleaner in to styro ball
5) add eyes with a tab of glue
 Finished spider  I would estimate we made 10 for about $6.00 .

Tuesday, June 21, 2011

It 's bug week !

STAMPing FUN !

1) Paint 
                                                         
2) Dip $ store bugs 


3) Now it gets a little tricky I am adding in some finger painting .  Dip your finger to make the body . It was a big hit with the kidos!
                                                       
4)Now your pinky for the head .
5) DECORATE  ... glitter pens are a BIG hit !
Also at the $ store
 

All done and all fun!


Monday, June 20, 2011

simple sweetness of vintage linens & oil cloth in vintage patterns .


I love vintage table cloths ....  and recently add vintage patterned oil cloth to my list of loves . Here are some of my favorite...

1)    This is an oil cloth in a vintage pattern .
I could not have lived without .The company who's make these  
stylish WIPEABLE  table cloth 
were set up at the 4th ave street fair this year . 


http://www.oilclothalley.com/

Just about the same pic but this one shows
 the sweet little gingham edge.

2) My brother sent me these from an estate sale 
LOVE THEM !!!


It has a pocket to hold the napkin !


3) An over sized napkin ...soon to become a pillow .
 _ylt=A2KJkK3exf9NGSQAhiyjzbkF.jpg
the little fruit pattern.